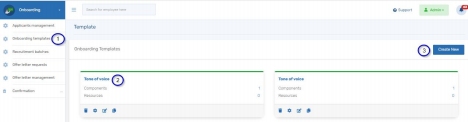
- Click on ”Onboarding Templates” to view existing templates.
- You can delete, open, edit, and duplicate existing onboarding templates.
- Select “Create New” to create a new onboarding template.
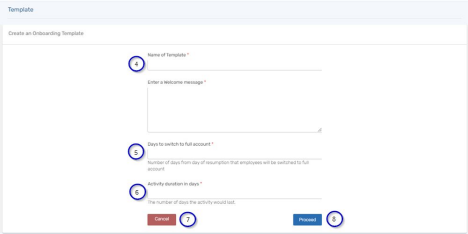
- Input the name of the new onboarding template you are creating, and input the welcome message that the employee will see before commencing the onboarding
- Input the activity start-day from the day of resumption. (Selecting zero means the activity would start the same day as resumption day).
- Add the number of days the onboarding activities will take.
- Click “cancel” if you do not want to create the onboarding template again.
- Click “proceed” to create a new onboarding template.
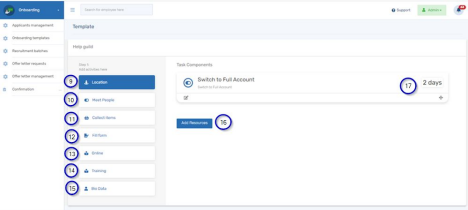
- Click “Location” to choose the venue (Physical or virtual) where the onboarding activities will take place. Fill the required fields and save to create this task.
- Click “Meet People” to create an onboarding task where the new employees will meet key people in the organization. Fill the required fields and save..
- Click “Collect Items” and fill the required fields to create an onboarding task where the new employees can collect office items such as laptops, ID cards etc.
- Click “Fill Form” to create an onboarding task where the new employees can fill the necessary forms e.g. HMO, Pension etc.
- Use the “Online” feature to create onboarding activities you want employees to carry out online. You are able to paste a link for employees to visit.
- Set up training for the employees. This could be external training or internal training. It can also be virtual or classroom or the hybrid of the two.
- The Bio-Data activity allows you to collect the employee’s information that will auto-populate into the HRIS.
- Click “Add Resources” add text material and links and quick for the new hire.
- Click any “Task Components” and drag up or down to reorder tasks on the onboarding list.
English